Set up a booking calendar
Create a calendar, set how long appointments last, and choose the days and hours people can book you.
You’ll need: Team members need the Conversational Forms permission.
A booking calendar sets when people can book time with you: how long each appointment lasts, which days and hours are open, and how much notice you need. Once it exists, you can share it as a booking page, put it in a conversational form, or let your AI agent offer it.
AppsCalendar
The Events list shows every calendar on your account. It shows each calendar’s Session duration and the number of Scheduled future events.
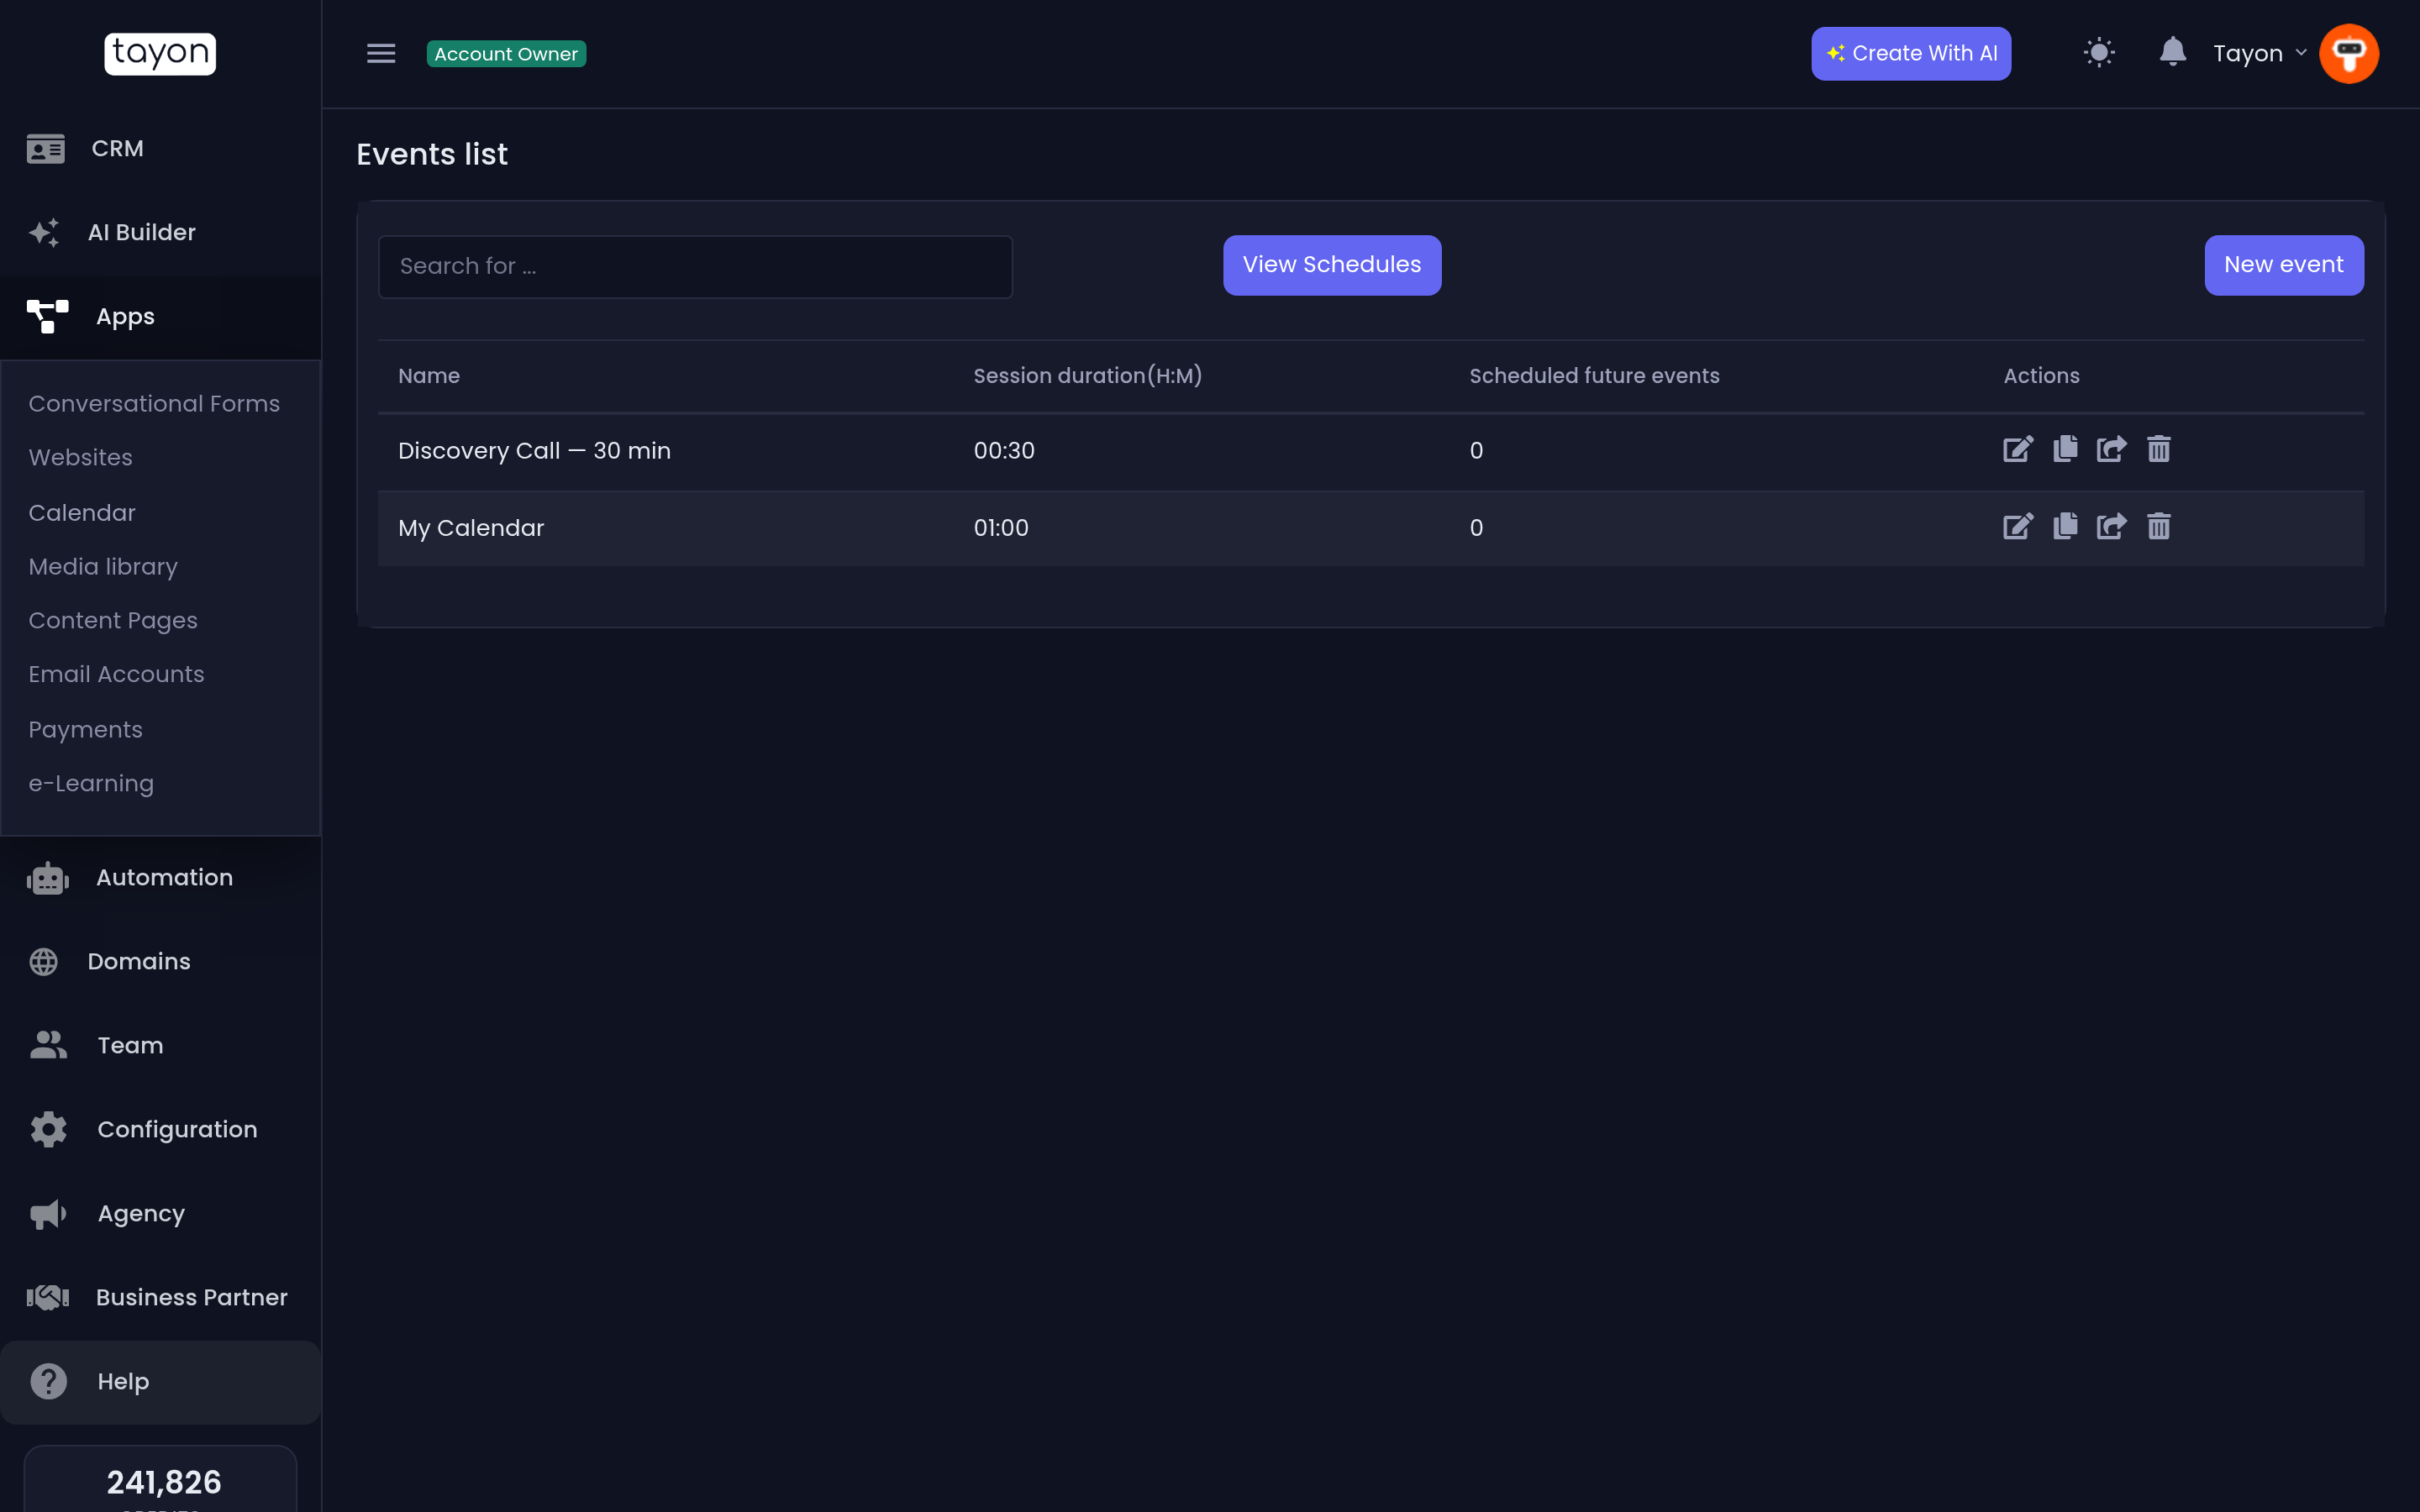
#Create a calendar
- Choose New event. Despite its name, this button creates a calendar.
- Enter a Name. Visitors see it at the top of your booking page.
- Set the Session duration in hours (H) and minutes (M).
- Choose your Time Zone.
- On the Available tab, switch on the periods you work and set their times (see below).
- Choose Save.
Once you save, a Public booking page card appears at the top of the calendar with the link to share. See Share your booking page.
#The settings
| Setting | What it does |
|---|---|
| Session duration | How long each appointment lasts |
| Interval between sessions | A gap left free after each appointment |
| Minimum antecedence for schedules | How much notice you need, in Day(s), Hours and Minute(s). Times sooner than this are not offered |
| Time Zone | The time zone your availability is written in. Booking pages show times in this zone |
| Schedules per session | How many people can book the same time. Leave it at 1 for one-to-one meetings |
| Max days into the future for appointments | How far ahead people can book |
| Description | Shown under the name on the booking page |
| Place | In person, Google Meet, Zoom, Telephone call or Custom. Choosing Custom adds a Custom place field |
| Address | Where an in-person meeting happens |
| Host | You, or a team member. The host is notified of bookings, and new leads from bookings are assigned to them |
| Background Color / Font Color | The colours of this calendar’s appointments in View Schedules, so you can tell your calendars apart |
#Set your available hours
Each day of the week has three periods: Morning, Afternoon and Evening. Switch on the periods you are available. Then set each one’s From and To times.
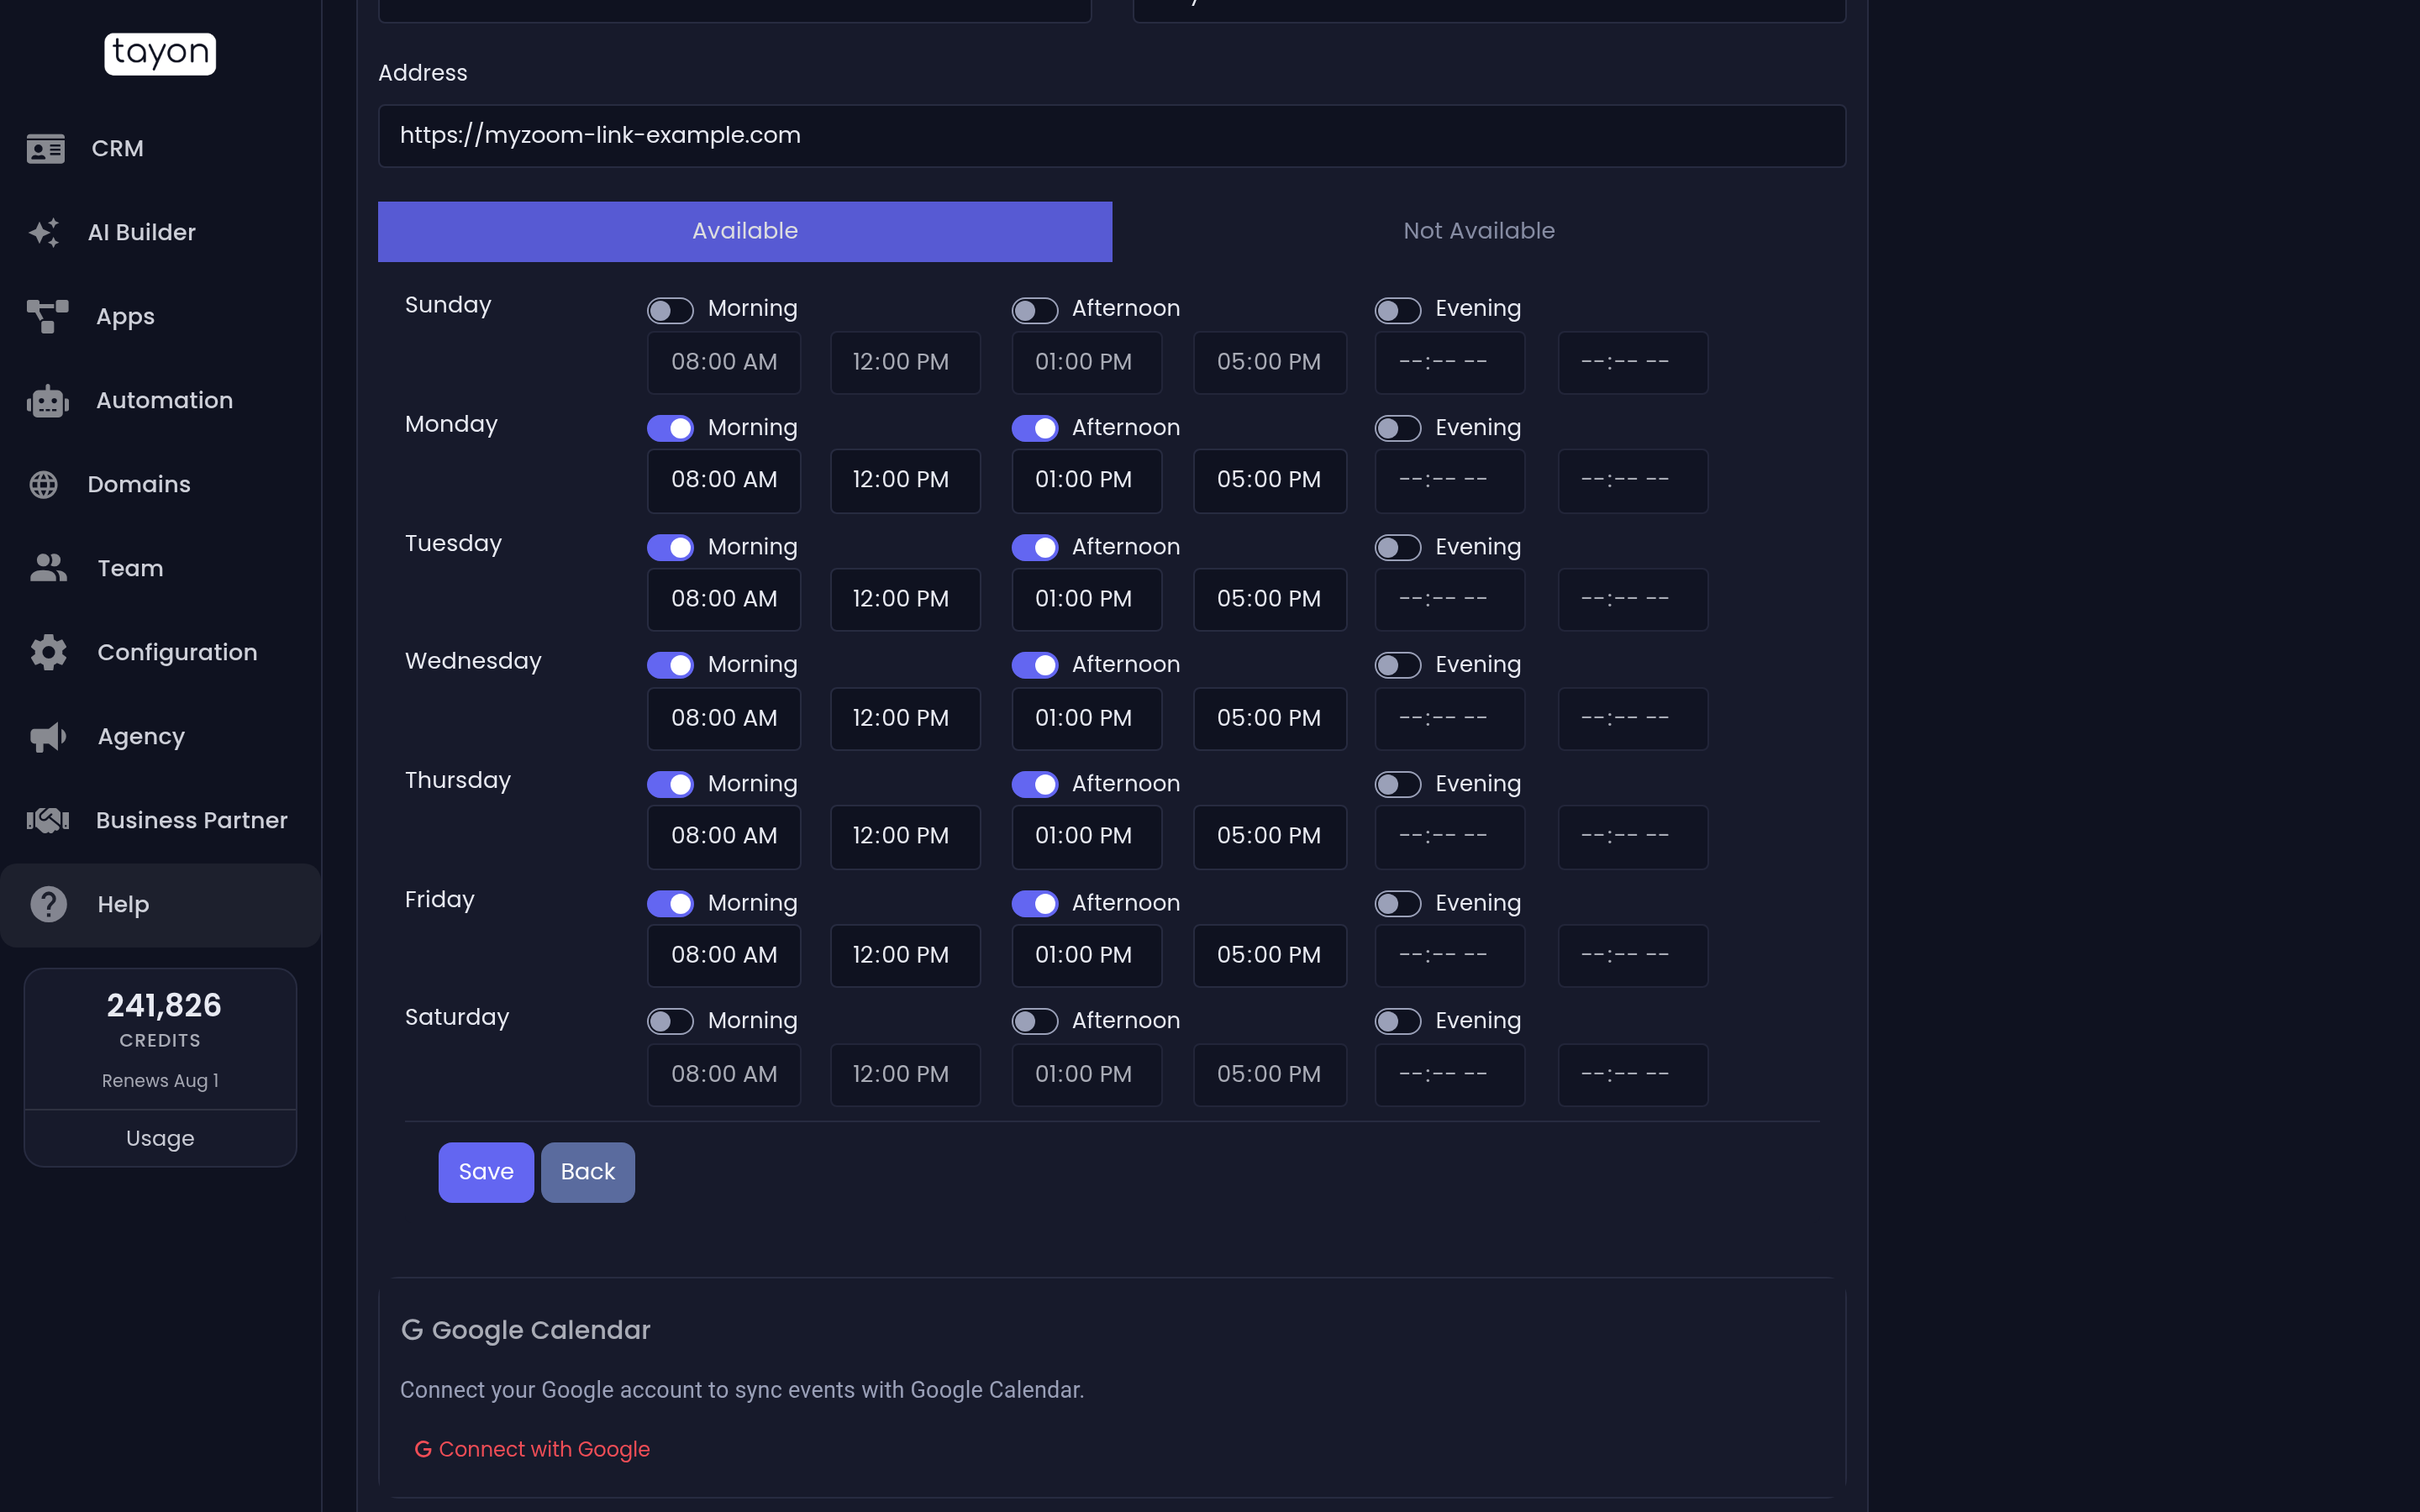
The periods let you leave a lunch break or a school run free without making two calendars. For example, you could open Monday morning from 09:00 to 12:00 and Monday afternoon from 14:00 to 17:30, and leave Monday evening off.
#How the times are worked out
Tayon fills each period with appointments from its start time. It adds the Session duration, then the Interval between sessions, then starts the next one. An appointment is only offered if it finishes before the period ends.
A morning from 09:00 to 12:00, with a 30-minute session and a 15-minute interval, offers 09:00, 09:45, 10:30 and 11:15.
A time is also hidden when:
- it is sooner than your Minimum antecedence for schedules
- it is further ahead than Max days into the future for appointments
- it is already fully booked (see Schedules per session)
- the host already has an appointment at that time on another of your calendars
- the calendar is linked to Google Calendar and that time is busy there. See Sync bookings with Google Calendar.
#Block out days off
To close a whole date, such as a holiday:
- Open the Not Available tab.
- Pick the date under Not Available Date and choose add date.
- Repeat for other dates, then choose Save.
To reopen a date, open the arrow next to it and choose Delete.
#Add national holidays
Instead of typing each holiday, you can add a country’s national holidays in one go:
- On the Not Available tab, under National holidays, pick the country. It starts on your account’s country. Type the first letters to find another one in Select a country.
- Choose Add national holidays.
- Choose Save.
 12
- Country
- Add national holidays
This adds the holidays from today to the end of next year. You see 12 holidays added. Click Save to keep them. (with your own count). Nothing is kept until you choose Save. Dates already on the list are skipped. When every holiday is there already, you see All national holidays are already in the list.
The holidays are added as plain dates, without their names. Remove any you work on with Delete, like any other date.
#See your appointments
Choose View Schedules on the calendar list to open your agenda of booked appointments across all calendars.
#Where your calendar is used
The same calendar can take bookings from several places at once. Every booking blocks that time everywhere.
- Your booking page: a link you share or embed on your website. See Share your booking page.
- Conversational forms: add a Calendar step and the visitor books without leaving the form. See Choose the right kind of question.
- Your AI agent: write
[calendar:Name]in the agent’s prompt and it offers times and books them in the chat. See Let your AI agent book appointments.
Calendars can also be created for you. When you describe a business that runs on appointments, the AI Builder creates a calendar and connects it to your website, form or agent. See Calendars the AI Builder creates for you.
#Copy a calendar or move it to another account
Each calendar on the Events list has two more icons:
- Duplicate makes a copy, with the same settings, in your account or in another one.
- Transfer to another account moves the calendar. It needs administrator access.
When you transfer a calendar, two things stay behind. The dialog tells you about both before you confirm:
- Its Google Calendar sync is removed; the other account can connect its own.
- Upcoming bookings, for example 3 upcoming bookings stay in your account.
See Duplicate or transfer to another account for the whole dialog.
Updated: