Take a payment inside your site
Add a Payment Checkout step so a visitor can pay by card, PIX or boleto without leaving your flow, and have the flow react to what actually happened.
You’ll need: A payment connection set up under Configuration → Payment Connections.
A conversational form can charge for something in the middle of the conversation — an event ticket, a book at a launch, a deposit on a booking. The visitor answers your questions, is sent to the gateway’s own checkout page, pays, and comes back into your flow at the step you chose.
The step that does it is an action with the Payment Checkout action type.
#Add the step
- In the Flow Designer, drop an Action step where the payment should happen.
- Open it and set Action Type to Payment Checkout.
- Pick the Connection, or leave it on Account default.
- Choose the Gateway — Stripe or Mercado Pago.
- Fill in Amount, Currency and Description.
- Under Where the buyer comes back, choose the three steps the buyer can land on.
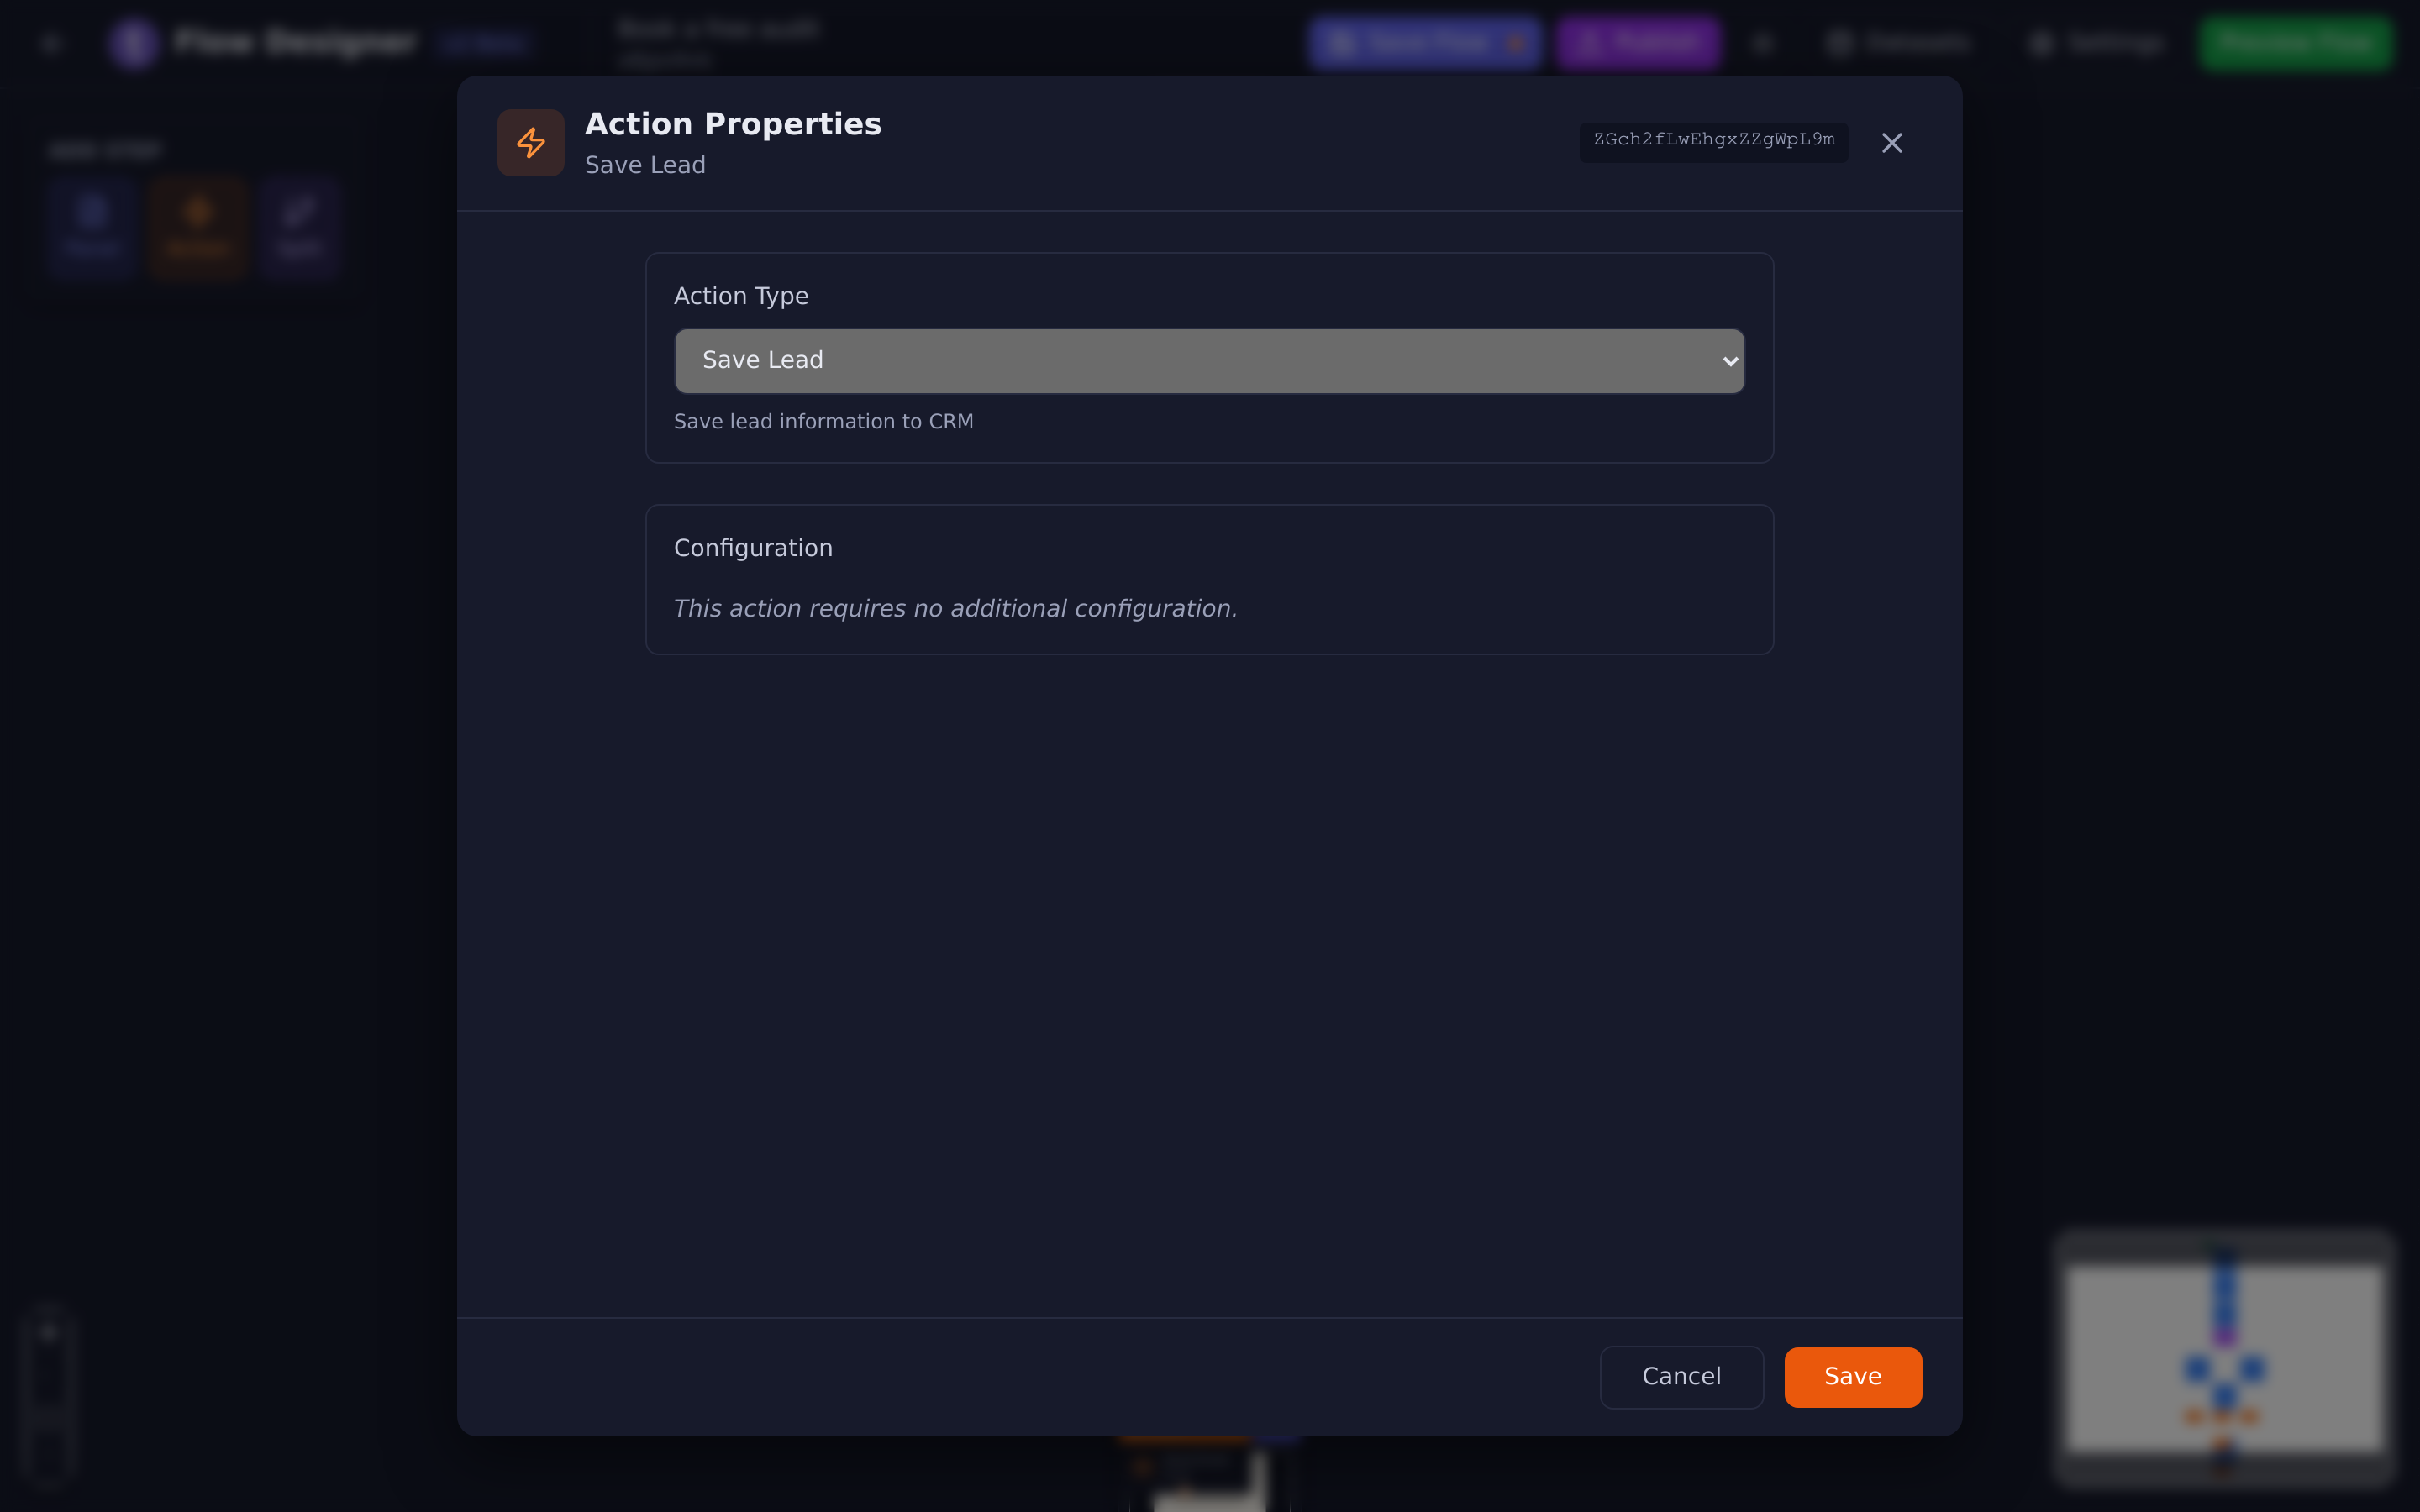
Save Lead belongs before the payment step, not after it. Someone who abandons the checkout should still be a lead — that is most of the point of taking money inside a flow instead of on a pricing page.
#The amount is the total, never a unit price
A bare whole number is read as the smallest unit of the currency — cents, centavos. That is the one format people get wrong:
| What you type | What is charged |
|---|---|
190000 |
R$ 1.900,00 |
1900.00 |
R$ 1.900,00 |
1900,00 |
R$ 1.900,00 |
R$ 1.900,00 |
Rejected. No checkout opens and no order is created. |
Currency symbols are never accepted. Variables and FLOW.CALCULATE() are — so
FLOW.CALCULATE($QUANTITY * 1900) is the normal way to charge for a quantity
the visitor chose, because it works the total out for you.
Currency offers BRL, USD, EUR, GBP, ARS, MXN, CLP and COP.
Under Payment methods you can tick Card, PIX and Boleto. Leave them all unticked to offer everything the gateway supports.
#The four exits — this is the one to read twice
A payment step has four ways out, and only one of them is a line you draw on the canvas.
| Exit | When it is taken |
|---|---|
| On success → step | The gateway sent the buyer back and the payment is confirmed |
| On cancel → step | The buyer walked away from the checkout, or the payment failed or expired |
| While pending → step | The money has not settled yet — PIX and boleto |
| The step’s own outgoing edge | Only when the checkout could not be created at all |
Give each outcome its own screen. Never point pending at the same screen as success: telling a buyer whose boleto has not cleared that their payment went through is the worst thing this step can do, and it is one shared dropdown away.
While pending is not optional in practice. Without it, a buyer who has genuinely paid by PIX lands on your cancel screen.
#The payment is confirmed by us, not by the browser
The buyer arriving back at a URL proves nothing — links get shared, forwarded and reloaded. Tayon confirms the payment with the gateway itself before it treats an order as paid, and keeps checking open orders afterwards, which is how a boleto paid the next morning still ends up marked Paid.
That is also why Tag when paid is safe to use. The tag is applied to the contact once the payment is genuinely confirmed, and only once, no matter how many times the buyer reloads the page.
#What the rest of the flow can read
After the step runs, the flow has a set of variables it can show on a screen or
test in a split. They all start with the Variable prefix you set on the
step, which is PAYMENT unless you change it.
| Variable | What it holds |
|---|---|
$PAYMENTSTATUS |
created, pending, paid, failed, canceled, expired, refunded, error or unknown |
$PAYMENTORDER |
The order’s reference |
$PAYMENTGATEWAY |
stripe or mercadopago |
$PAYMENTAMOUNT / $PAYMENTAMOUNTFMT |
The amount in the smallest unit, and the same amount formatted |
$PAYMENTCURRENCY |
The currency |
$PAYMENTQUANTITY |
The quantity you recorded |
$PAYMENTERROR |
Why a checkout could not be created |
There is deliberately no variable holding the checkout address. The step sends the visitor there itself; you never have to handle the link.
Payer details works the other way round: it takes the names of identifiers
you collected earlier — EMAIL, NAME, CPF — not values you type. Fill them
in and the buyer does not retype what they already told you. Leave them blank
and the gateway asks.
#Testing it
Preview cannot create a real checkout, so a payment step in preview shows an outcome picker instead — paid, pending, canceled or error. Pick one and the preview continues at exactly the step the live flow would, with the same variables set. Check all four paths before you publish.
#When it does not work
- The step advanced instead of opening a checkout. Something stopped the
checkout being created. Look at
$PAYMENTERROR—no_connectionandno_keymean the connection is missing or incomplete,bad_amountmeans the amount was not in an accepted format. - An amount was rejected. Remove the currency symbol.
R$ 1.900,00never works;190000does. - Buyers who paid landed on the cancel screen. You have no While pending step, and they paid by PIX or boleto.
- The order sits at Awaiting payment forever. The gateway is not telling us the payment cleared. Check the webhook address on the connection is still the one registered in your gateway dashboard — see Connect Stripe or Mercado Pago.
- You want to see what actually happened. Every order, paid or not, is on the Payments screen.
Updated: